Pedis at the ready: How to create sandal-worthy toes at home
It’s Almost sanDal-wearing weather so now is the peRFect oppOrtunity to spend a bit of time and attention on your tootSies with some pedicure maintenance.
To the rescue comes Edinburgh-based
nail technician and gel artist, Shelly Hendricks, who reveals the secrets to achieving a perfect pedicure at-home, in seven simple steps.

TAKE TIME TO SHAPE
‘Much like a manicure, you need to ensure the shape of your toenails is correct’, says Hendricks. ‘Avoid rounding off the edges, as this can cause the nails to become ingrown, particularly if you’re a runner or avid exerciser. Instead, opt for a line that goes straight across your toe, using a glass nail file for extra precision’.
BUFF AWAY HARD SKIN
Use a foot file to get rid of dry or hard skin. It’s tempting to wet your skin before doing so, but this can use the skin to become rubbery and harder to work with. For best results, use on dry skin. Once you’ve gently removed the majority of excess skin, use a soothing scrub to exfoliate any stubborn or hard-to-reach areas with your fingertips. ‘My advice is to scrub your feet every time you shower’, says Hendricks. ‘It’ll save you time in the long-run.’
SOAK YOUR FEET
Now, dip your feet into warm water to remove any dry skin and scrub residue. You can do this using a basin, or by running a shallow bath. Try adding mint or your favourite essential oil to elevate the at-home experience.
MOISTURE SURGE
By this time, a massage is in order, so grab your favourite body moisturiser or rich foot cream, and apply it all over your foot in circular motions. ‘I like to apply it thickly’, Hendricks reveals, ‘then, I pop on cashmere socks for an indulgent treat! Leave the cream to soak into the skin for a minimum of five minutes. If there’s any leftover cream, work it into the skin’s surface with your hands.’
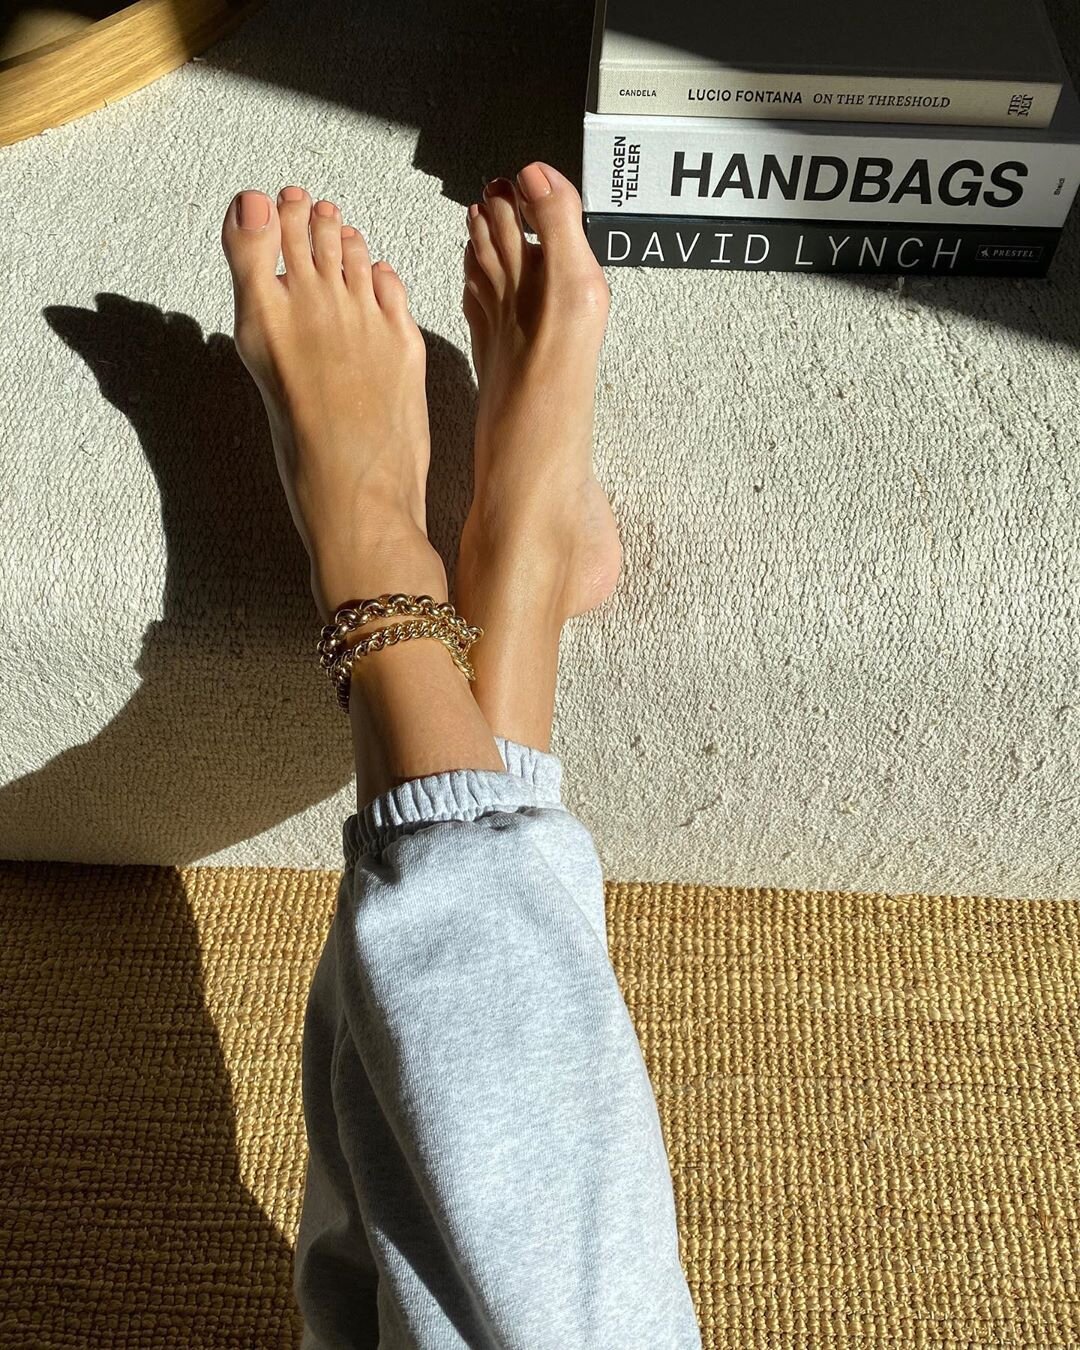
Image: Rosie Huntington-Whiteley
PREP AND PRIME
Before you proceed with polish, take a moment to ensure your cuticles are pushed back and that any excess skin is removed from around the nail bed. You’ll also need to remove any oil from the nail’s surface, caused by the moisturiser or cream. You can do this by applying a small amount of nail polish remover to a cotton bud, and sweeping it across the nail, allowing time for it to dry. And far as removers go, they don’t come prettier than Dior’s dressing table-worthy bottle.
PAINT YOUR TOES
You’ll need to perch your foot somewhere where it can remain still while being comfortable. If you have a table lamp, position it near your foot and point it down directly on your toes to give you more light. Start by applying a base coat. Next, take your chosen polish and, beginning in the centre of the nail, push the brush lightly towards the cuticle before painting down towards the nail edge. One stroke in the centre and two on either side for your big toe and then one or two strokes on your smaller nails should suffice. Should any colour leak onto your toe or your cuticle, take a toothpick or a wooden stick from your manicure kit, wrap it in cotton wool, dip into remover, and neaten up accordingly. Once the polish is dry to the touch, and you’re happy with the pigment of the colour, add a high-shine topcoat.
OIL IT UP
Once completely dry, give your feet one final treat with a slick of nourishing oil. ‘I can’t stress enough how important it is to oil your nails’, says Hendricks. ‘My favourite oil is Nails.Inc Superfood Repair Oil, which I make a point of keeping next to my bed and applying every night, along with hand cream. Not only will it help strengthen your nails and soften your cuticles, but it’ll also ensure your hard work lasts longer.’
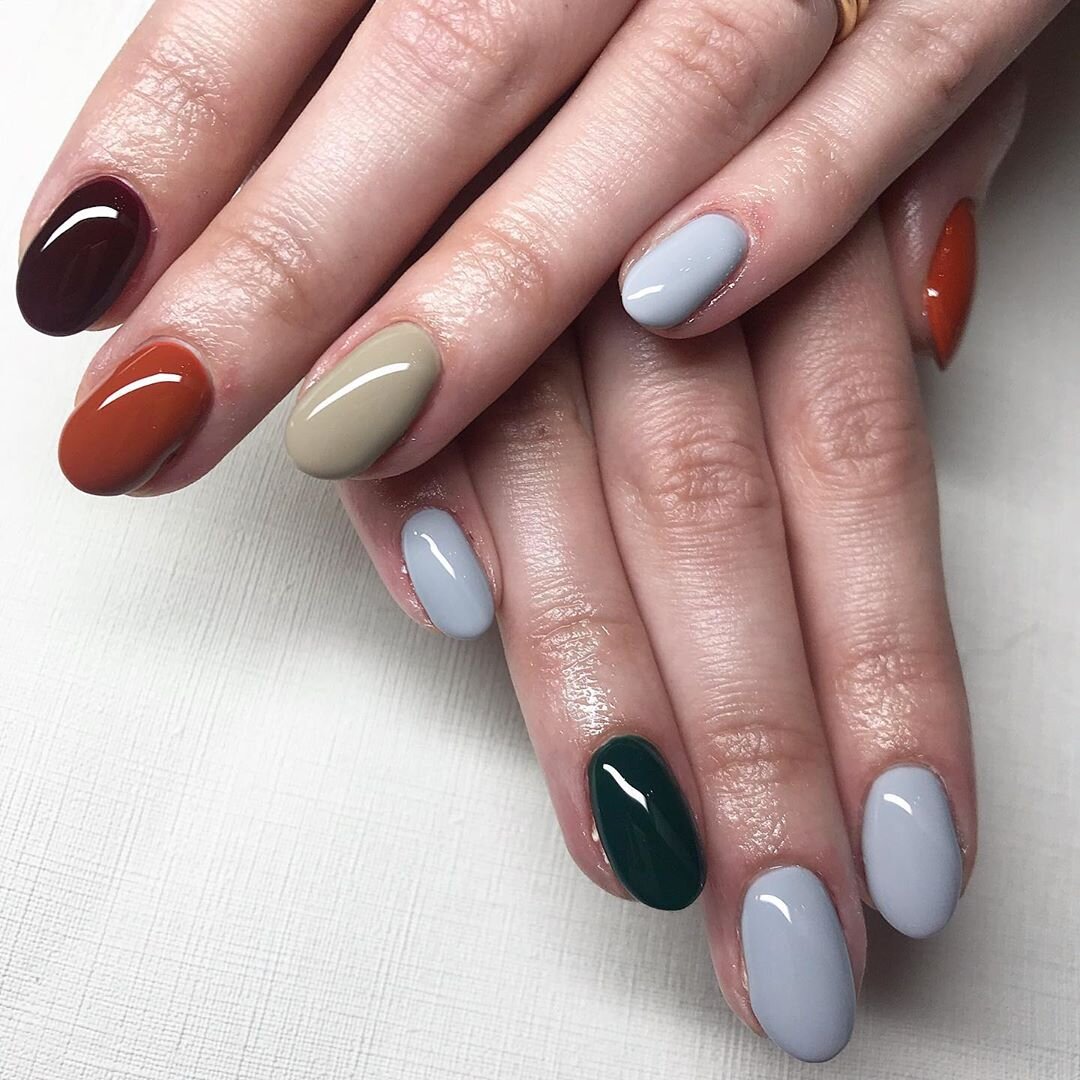
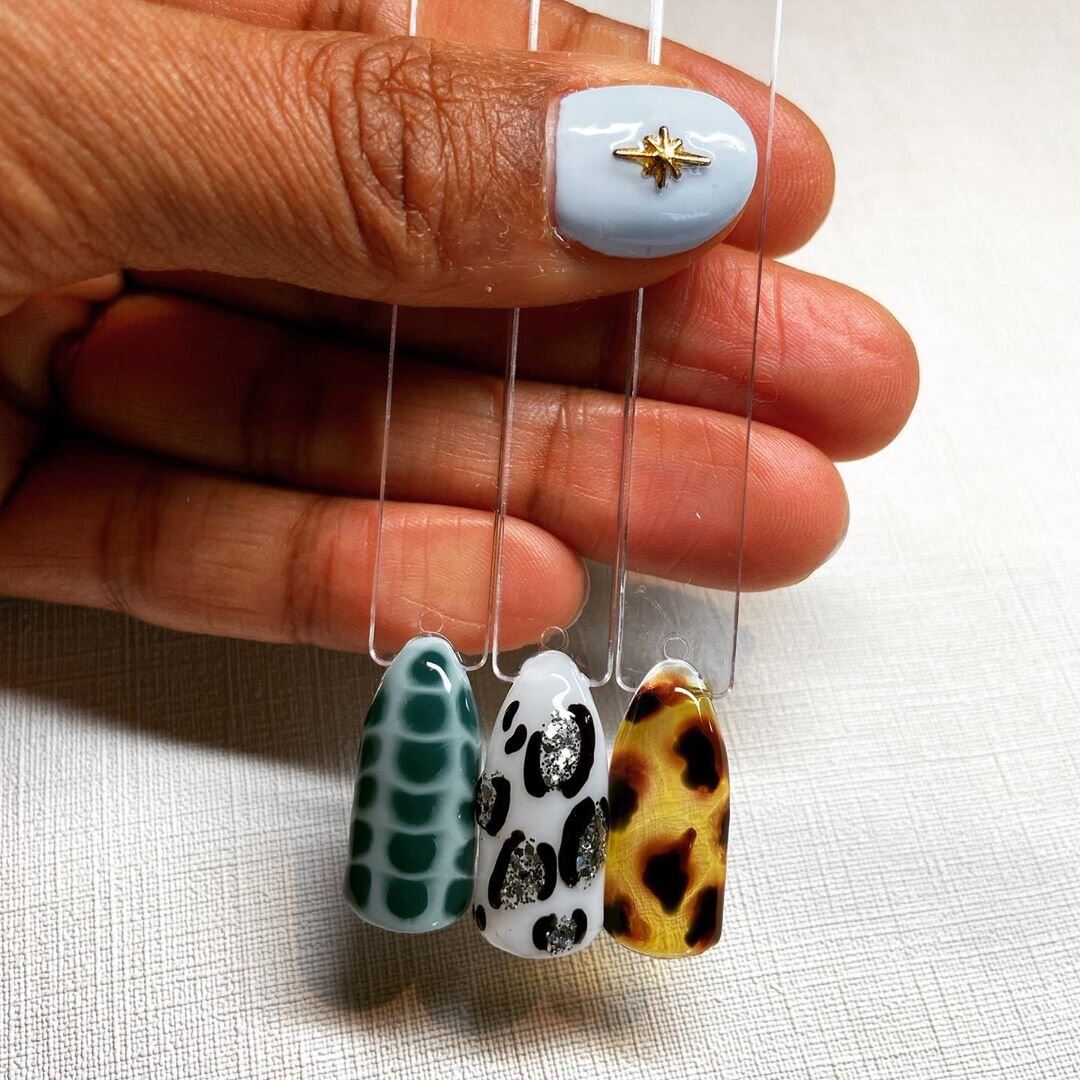
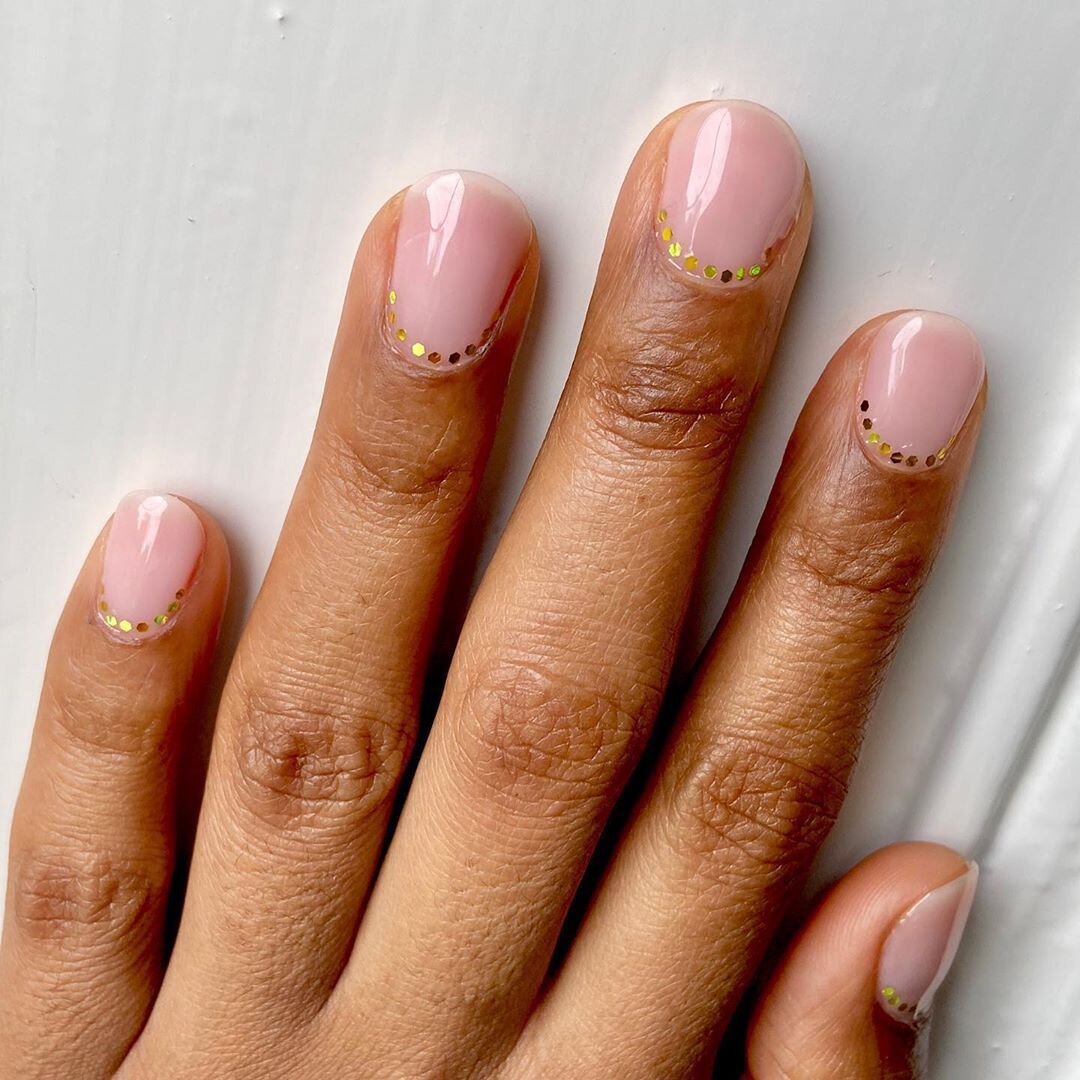
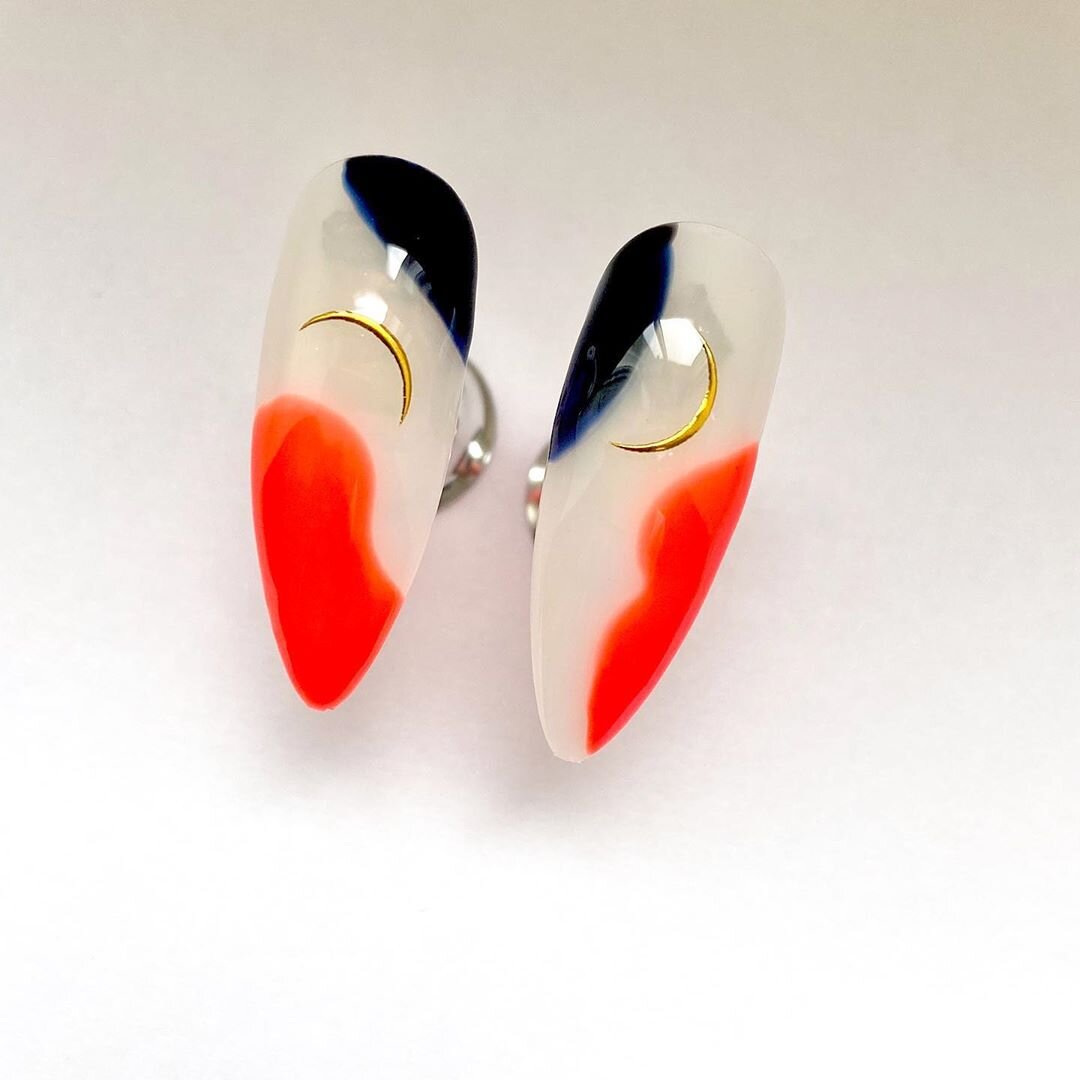
SHELLY’S GEL MASTERPIECES
With a rock-steady hand and an eye for talon trends, Shelly Hendricks’ gel creations are a sight to behold. For bookings, contact her directly on Instagram at @nails_by_shellyhendricks.