
Create the perfect gallery wall in just 6 simple steps
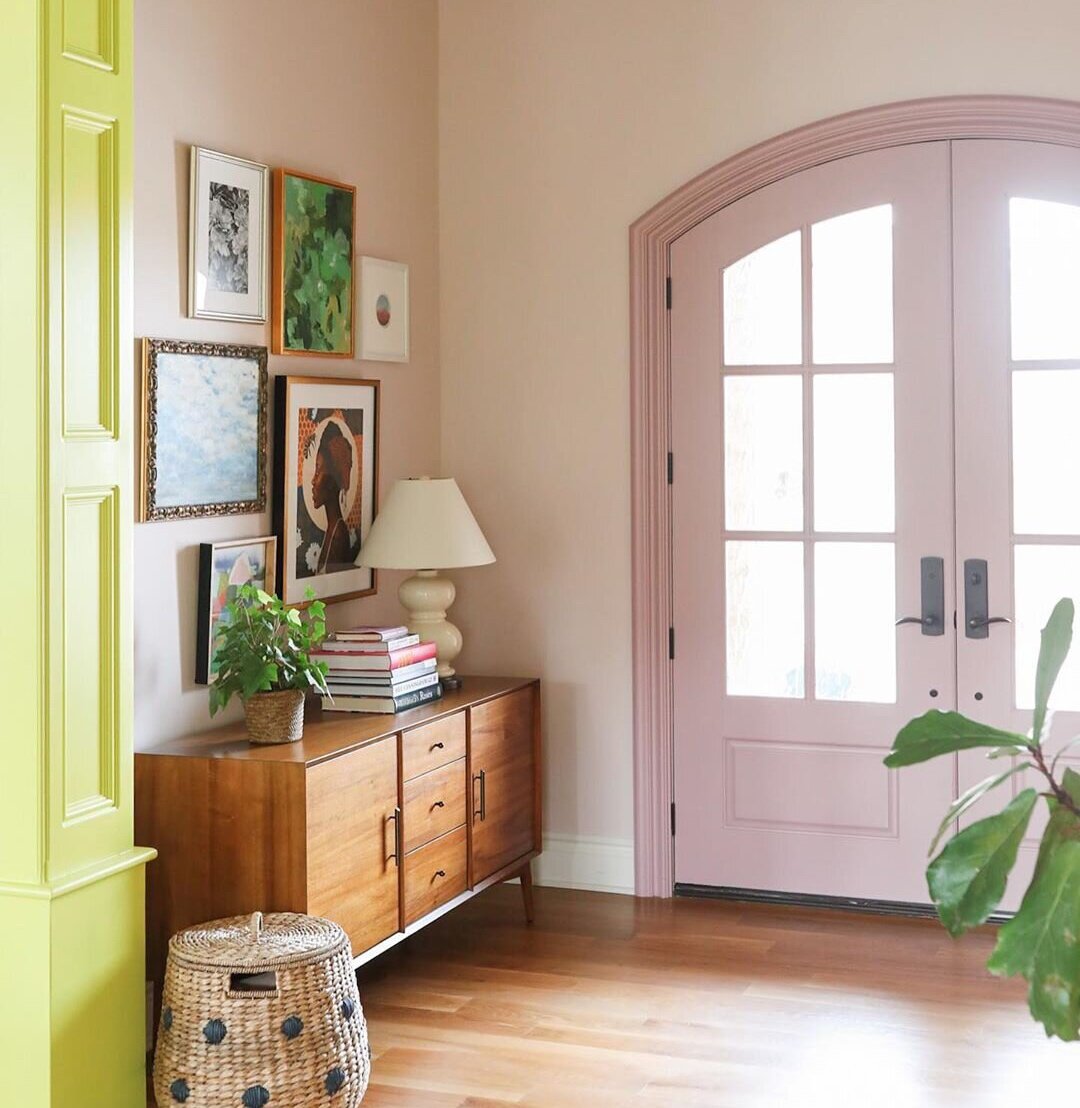
Image: Farrow & Ball
It’s fair to say gallery walls are having a moment right now. Whatever your budget, they’re a sure-fire way to add personality to a room without the need to undergo any costly renovations or open a tin of paint. You can even apply your artwork to the wall using mounting tape instead of nails, meaning it makes for the ideal update for rental properties, too. As such, there’s no reason not to give this interior trend a whirl.
That said, creating a gallery wall isn’t always easy—with so many print and art options to choose from, you run the risk of your pieces not feeling cohesive. But fret not, for we’re here to help—we’ve whittled down six ways to ensure your gallery wall remains chic.
MIX YOUR FRAMES
If your interior penchant errs on the minimal side of things, there are plenty of uniform frame options to choose from. However, for a more eclectic look, try incorporating different picture frames into the mix. Use thin black and white frames to create your basis, then add in wood, raw canvas, or even box frames to add a different dimension.

Image: This Little House
CHOOSE AN ACCENT COLOUR
When it comes to colour, you can be as bold as you like. However, your pieces mustn’t clash without cause. Hone an accent colour that appears in several of your pictures or paintings to tie them together.
EMBRACE ODD NUMBERS
Again, if you’d rather your gallery wall look uniformed, you can opt for an equal amount of frames, positioning them in straight lines. However, in design terms, sticking to odd numbers of things always look good.
THINK THEMATICALLY
Displays that have a central concept always look a bit tighter and more put together than those that don’t, so try and define an overriding theme, be it feminine, natural, minimal, or classic.
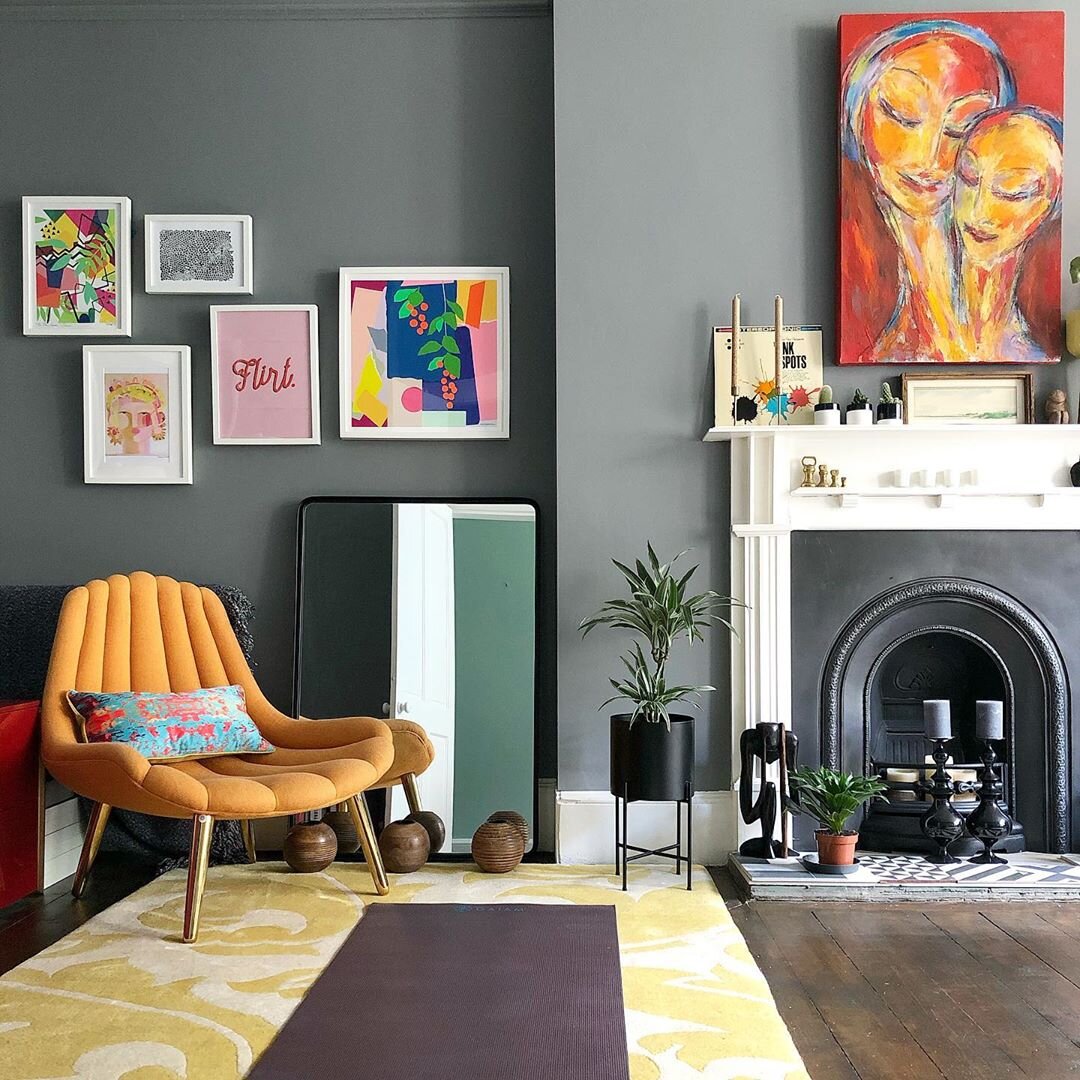
Image: Liz Nylon
EXPLORE DIFFERENT MEDIUMS
Be sure to mix print and painting genres to stop each piece from blending in with one another. Typography prints add an unexpected twist, as do old family photographs for a personal touch.
PLAY AROUND WITH THE LAYOUT
Before you start hammering nails into walls, we suggest living with your gallery wall for a few weeks before you do anything concrete. Using the aforementioned mounting tape, you can move around your gallery wall on a whim to try out new compositions. This is especially handy if you intend to add to your gallery wall over time.